

Guest Blog from Axians Alex Gittings: see original post on his blog
A large part of the work I do is around the Silver Peak SD-WAN offering that Axians offers its customers. An area of interest of mine is around network automation so I like to use Python wherever possible. SD-WAN inherently has some form of automation around its platform as there is an overarching orchestrator that manages all Silver Peak devices. However, when I do things I like to find programmatic ways of manipulating devices.
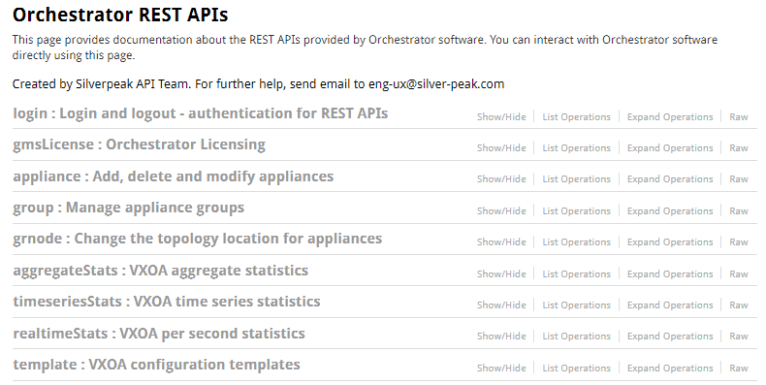
Silver Peak SD-WAN platforms offer a comprehensive REST API to manipulate their software using multiple methods.
To leverage these API’s within Python natively, the code would have to handle logging in and then proceeding to call the required API to get or post information.
For example this Python snippet will show how to login and get the active alarms from the Orchestrator with native code, it will then output the data to a nice easy to read table.
import requests
import urllib3
from tabulate import tabulate

# Silence the insecure warning due to SSL Certificate
urllib3.disable_warnings(urllib3.exceptions.InsecureRequestWarning)

# credentials
username = "admin"
password = "admin"

login_url = 'https://192.168.33.2:443/gms/rest/authentication/login'
get_alarms = 'https://192.168.33.2:443/gms/rest/alarm/gms?view=active'

requestData = { "user": username, "password": password }

# start session
s = requests.Session()

# login
r = s.post(login_url, json=requestData, headers={'Content-Type': 'application/json'}, verify=False)

# print response from logging in
print(r.text)

# request active alarms
alarms = s.get(get_alarms, verify=False, headers = {'Content-Type': 'application/json'}, cookies=r.cookies)

# display the alarms in a nice table
print("Active Alarms:")
headers = ["ID", "Severity", "Name", "Source", "Service Affect"]
table = list()

for item in alarms.json():
    tr = [item['id'], item['severity'], item['name'], item['source'], item['serviceAffect']]
    table. append(tr)

#print table
print(tabulate(table, headers, tablefmt="fancy_grid"))
OUTPUT:
PS C:\Users\Alexander.Gittings\code\silverpeak> python.exe .\basic.py
successfully logged in
Active Alarms:
╒══════╤════════════╤══════════════════════════╤═════════════╤══════════════════╕
│   ID │ Severity   │ Name                     │ Source      │ Service Affect   │
╞══════╪════════════╪══════════════════════════╪═════════════╪══════════════════╡
│  107 │ MAJOR      │ SMTP_DEFAULT_NOT_CHANGED │ /email/smtp │ False            │
╘══════╧════════════╧══════════════════════════╧═════════════╧══════════════════╛
However, myself and Adam set out to build a Python package to leverage the Silver Peak API’s in a much easier fashion. The source code code can be seen on my Github here: SilverPeak_Python.
TO INSTALL THIS PACKAGE YOU CAN LEVERAGE PYPI:
pip install silverpeak
The package can then be imported into your python script using from silverpeak import *
CREATING A SESSION IS AS EASY AS:
sp = Silverpeak(user="admin", user_pass="admin", sp_server="192.168.33.2", disable_warnings=True)
You can then leverage “sp” to call multiple modules that are currently implemented in the Python package:
- get_appliances()
- get_appliance()
- get_reach_app()
- get_reach_gms()
- get_groups()
- get_group()
- get_group_root()
- get_grnodes()
- get_grnode()
- get_discovered()
- get_approved()
- get_denied()
- get_interfaces()
- get_device_alarms()
- get_alarms()
- get_alarm_summary()
- get_alarm_summary_type()
- post_preconfig()
EXAMPLE OF GET_ALARMS:
alarms = sp.get_alarms(view='active')
Most of these modules allow the user to input data, in this example the user can select what alarms to view: all, active, closed.
This will call the alarms API within the Orchestrator and return a tuple containing valuable information:
print(alarms)

Result(ok=True, status_code=200, error='', reason='Success', data=[{'id': 107, 'severity': 'MAJOR'
tp', 'acknowledged': False, 'clearable': False, 'timeOccurredInMills': 1551696432000, 'description
ing the default SMTP settings', 'type': 'SW', 'recommendedAction': '', 'serviceAffect': False, 'ty
: 'SMTP_DEFAULT_NOT_CHANGED', 'occurrenceCount': 1, 'closed': False}], response=<Response [200]>)
THE FULL CODE LOOKS LIKE THE FOLLOWING INCLUDING A FANCY TABLE FOR THE OUTPUT:
from silverpeak import *
from tabulate import tabulate

# login
sp = Silverpeak(user="admin", user_pass="admin", sp_server="192.168.33.2", disable_warnings=True)

print("Active Alarms")
headers = ["ID", "Severity", "Name", "Source", "Service Affect"]
table = list()

# get active alarms
alarms = sp.get_alarms(view='active')

# display the alarms in a nice table
for item in alarms.data:
    tr = [item['id'], item['severity'], item['name'], item['source'], item['serviceAffect']]
    table. append(tr)

# print table
print(tabulate(table, headers, tablefmt="fancy_grid"))
OUTPUT:
PS C:\Users\Alexander.Gittings\code\silverpeak> python.exe .\package.py
Active Alarms:
╒══════╤════════════╤══════════════════════════╤═════════════╤══════════════════╕
│   ID │ Severity   │ Name                     │ Source      │ Service Affect   │
╞══════╪════════════╪══════════════════════════╪═════════════╪══════════════════╡
│  107 │ MAJOR      │ SMTP_DEFAULT_NOT_CHANGED │ /email/smtp │ False            │
╘══════╧════════════╧══════════════════════════╧═════════════╧══════════════════╛
I will update my blog with more examples of leveraging this Python module to manipulate the Silver Peak orchestrator.